Notes from a Visit to the Conservator
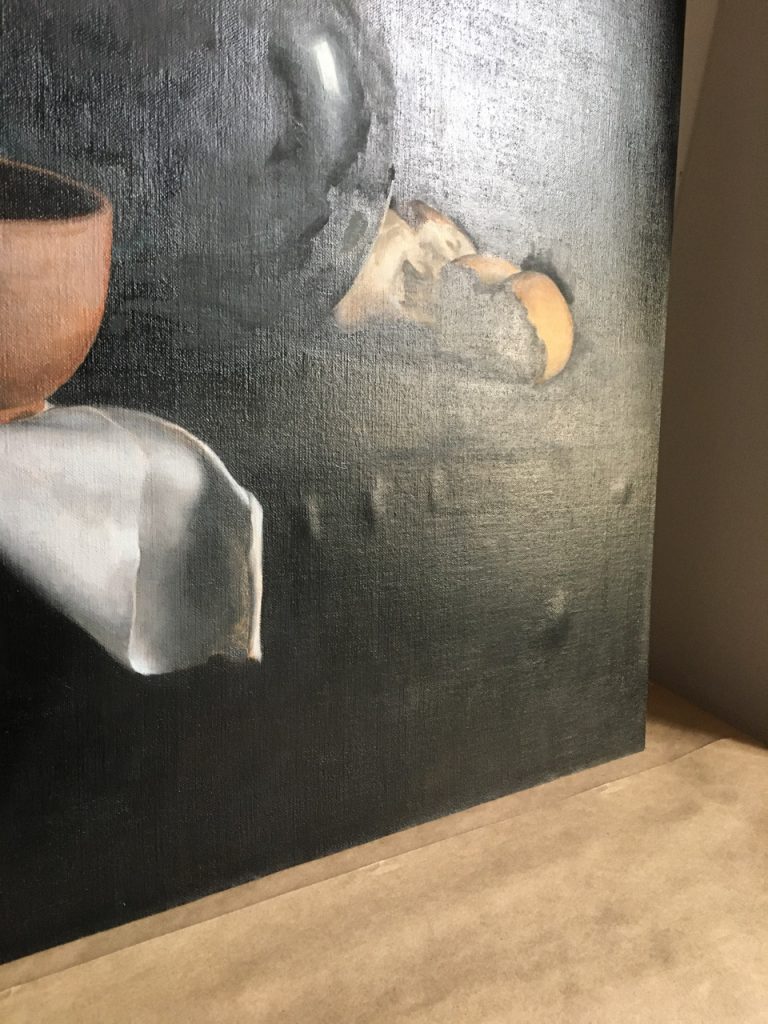
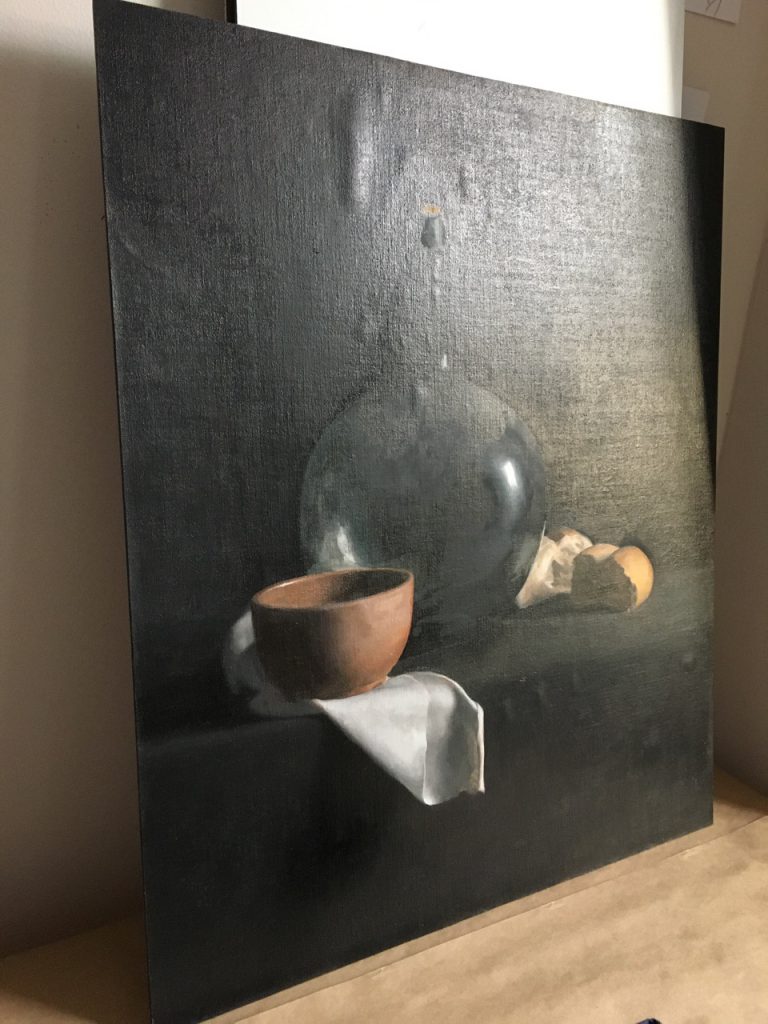
This one goes out to all my classmates from the Florence Academy. I recently, finally, varnished and photographed my still life from my last trimester – almost a year after the fact. The reason it took me so long is because I had prepared the panel on which it was painted by ironing Beva film onto an aluminum composite panel. Air bubbles developed between the panel and linen, and the panel looked like this after it was painted.
So, I ended up taking the panel to Page Conservation here in Washington, DC. Arthur Page was super helpful. Not only did he let me watch while his team fixed the panel, but he gave me a bunch of advice on other things that I thought might be of interest to other painters. Here’s a little overview of what I learned.
First of all, the way I found Page Conservation was through the conservation lab at the National Portrait Gallery Smithsonian. The Lunder Conservation Lab has an outreach to the public that includes offering advice to artists who contact them.
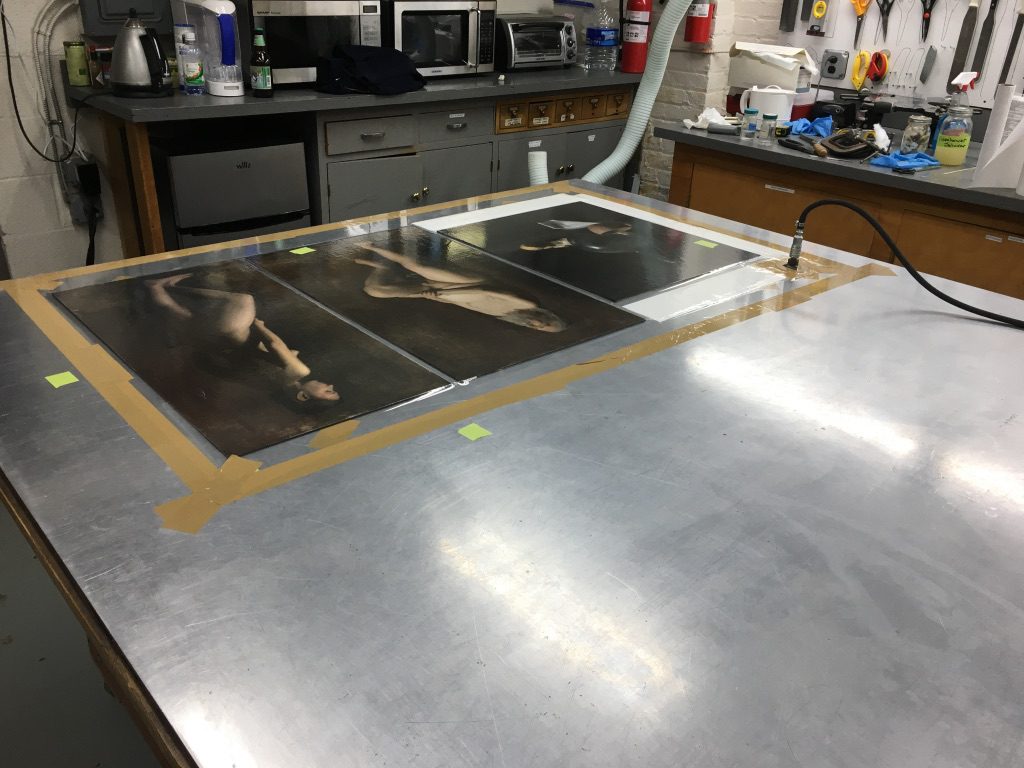
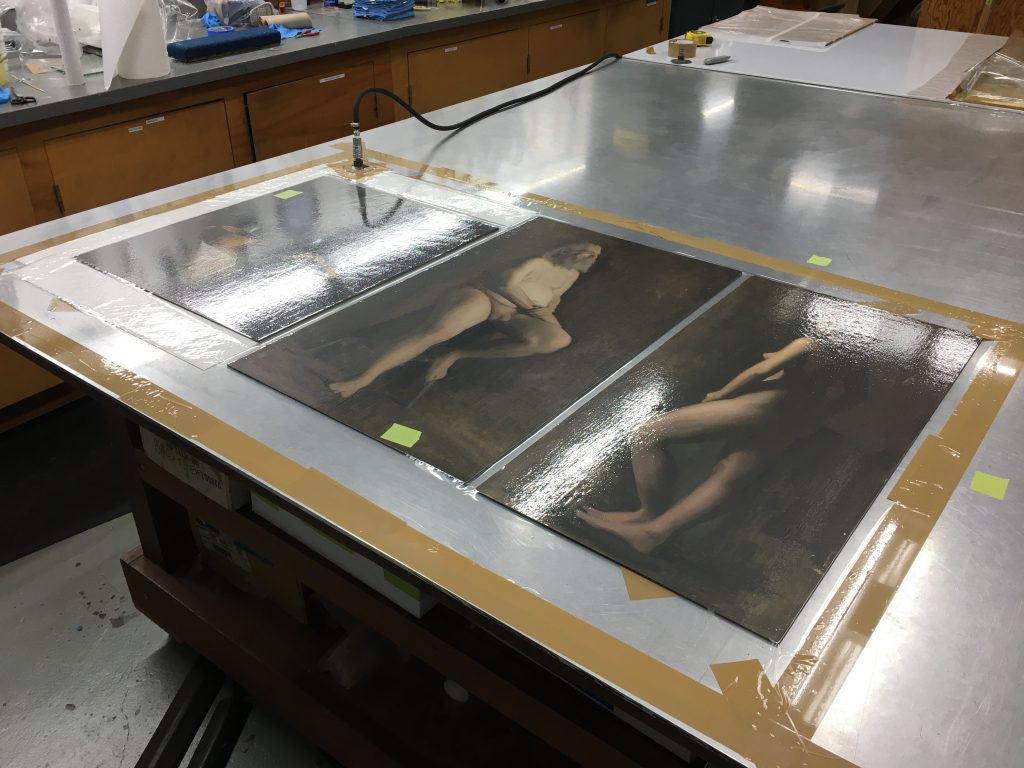
When I took my painting to Page Conservation, they restored it by placing it on a heat table, in a vacuum chamber, and sucking the air out of it after heating it up. The process looked like this.
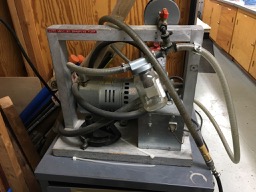
The vacuum pump is not pictures here, but you can see the hose sticking out of the Mylar that goes to the vacuum pump. Here is the vacuum pump.
The main thing that I learned by watching this process is that in adhering linen, vacuum pressure works better than physical pressure. There is no way to expel all the air from between linen and a panel using an iron.
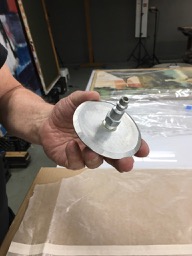
I asked Arthur Page how I might reproduce this process at home and without a heat table in order to create my own bubble-free panels. He recommended purchasing a heat gun and heat sensor. The process would like this this: Place the panel with Beva film and linen on a flat, non-flammable surface (like a metal table) and cover it with a sheet of 1mm silicone release Mylar. Tape the Mylar to the table, creating an air-tight vacuum chamber around the panel. Then, cut a hole in the Mylar to create a hole into which to insert the hose from the vacuum pump. It helps to have a kind of flange attachment for the end of the vacuum pump like this:
Then, draw a grid on the Mylar with of square about 12″ on a side. Turn on the vacuum pump. Then, using the heat gun and heat sensor (both available at retail stores such as Granger or Lowes), heat one square at a time to just over 150°F. Once all of the squares have been heated, keep the vacuum pump running until the whole panel has cooled to room temperature. Then remove the Mylar, and voilà, you have a beautiful, bubble-free panel.
Arthur also mentioned a couple of other things that I thought were interesting.
To prevent paint from sinking in, mix Liquin with Gamsol and use it as a medium. Liquin is a medium made with synthetic linseed oil an driers.
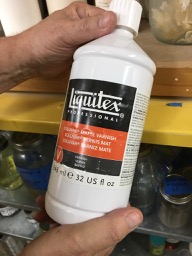
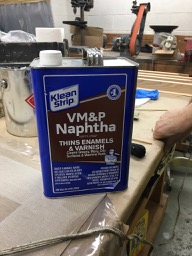
He recommended this varnish recipe: Make a 50/50 mixture of matte and glossy Liquitex Soluvar varnish. Add 10% naphtha, heat the mixture in a Pyrex measuring cup in a double boiler. Apply it with a 2″ wide brush (Purdy, from any paint store). Saturate brush with varnish, keep brushing until you feel drag on the brush and then stop. (I haven’t tried this, but I figure it might be an interesting experiment.)
As an alternative to using Beva film, use Beva gel. Naphtha can be used to thin Beva gel.
That’s it, folks. I miss you all, FAA people. Hope you are well in your studios.
